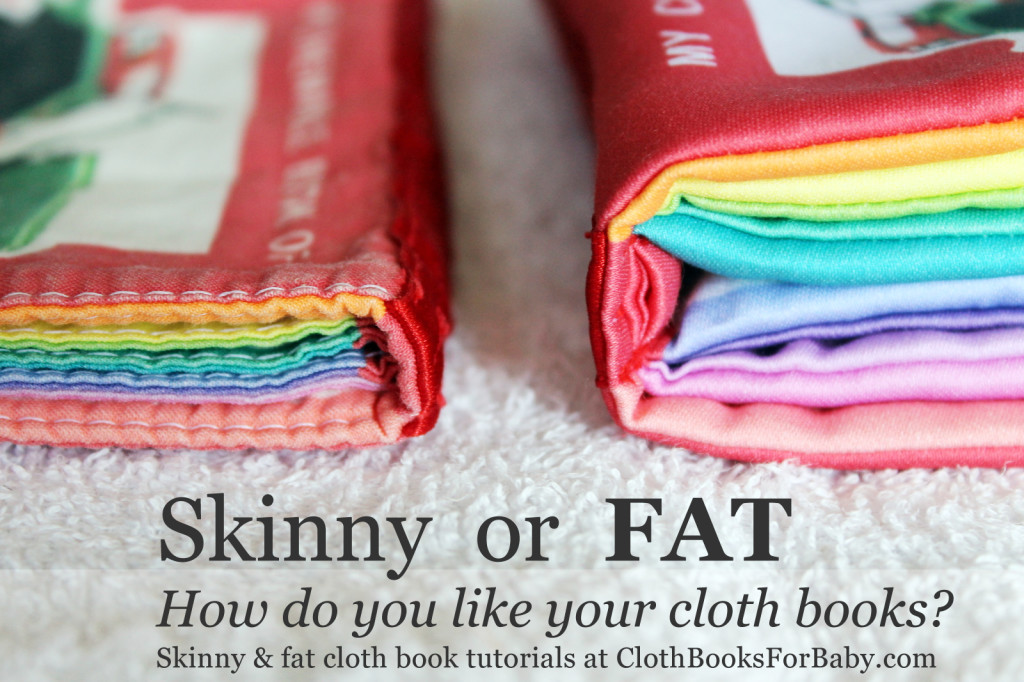
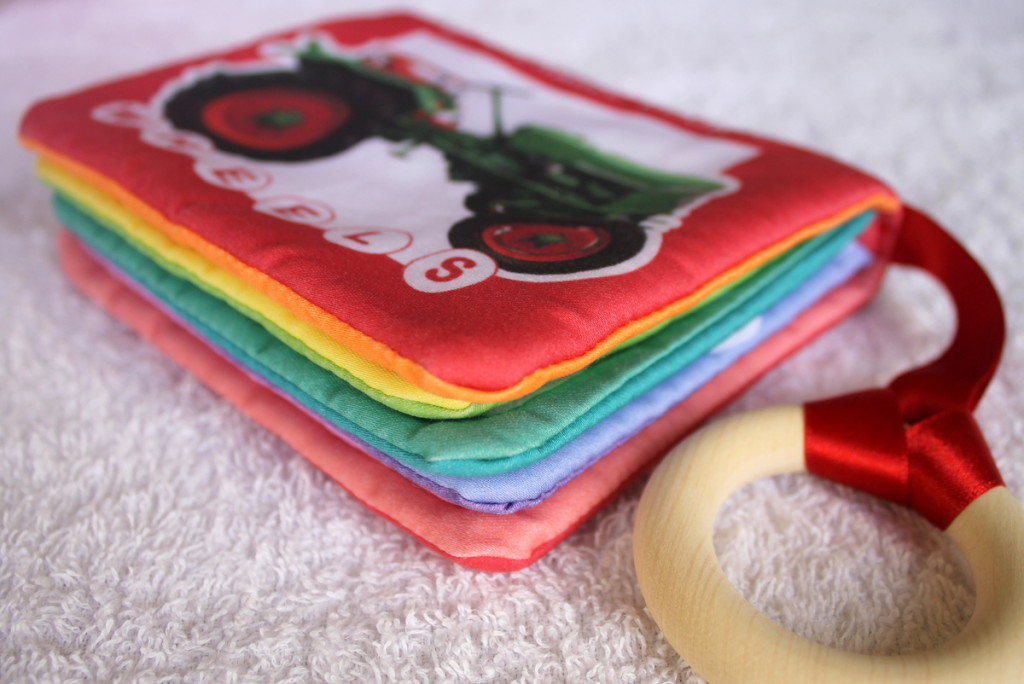
I started making cloth books the turn & topstitch way pictured above on the left. But I wanted FAT pages to highlight the colours of My Chewable Book of Wheels. And I liked the result so much that I no longer make skinny books. (The original skinny book tutorial is here.)
Fat Cloth Book Tutorial
You can click each photo for a closer look.
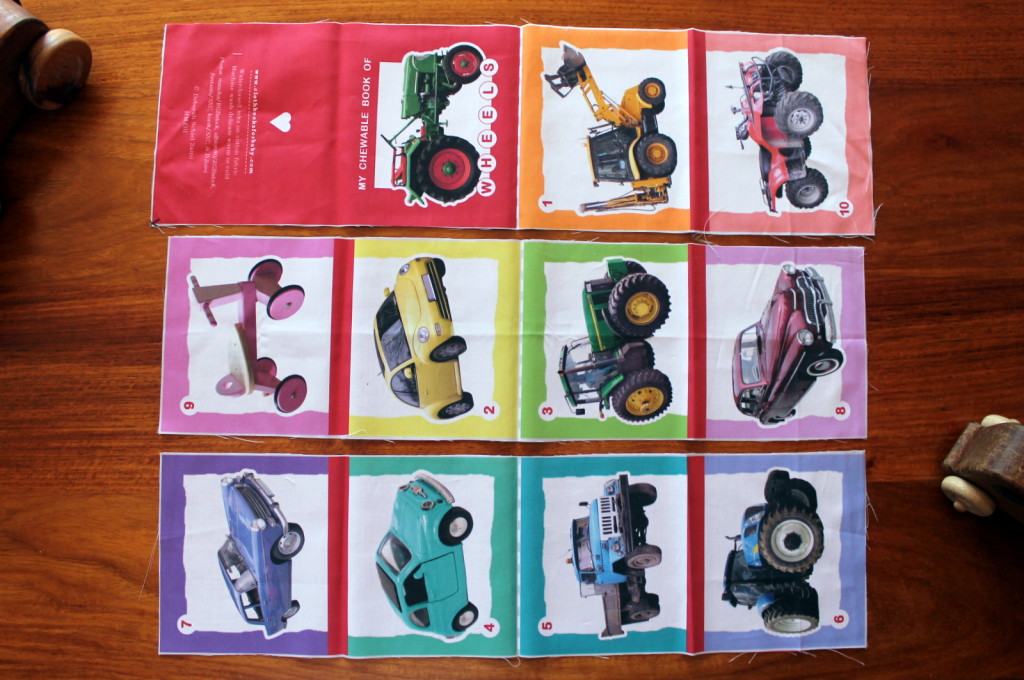
Get your fat quarter book panel from Spoonflower. Read all the steps below while you wait for your book panel (or panels?) to be delivered.
Cut your fabric along the solid grey lines into three strips as shown.
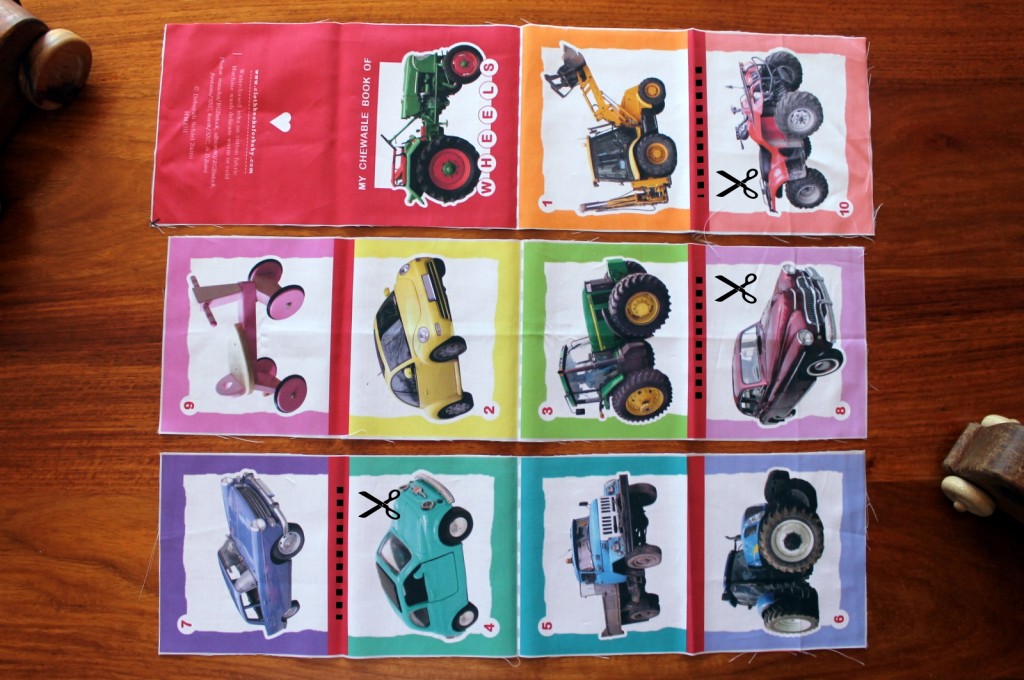
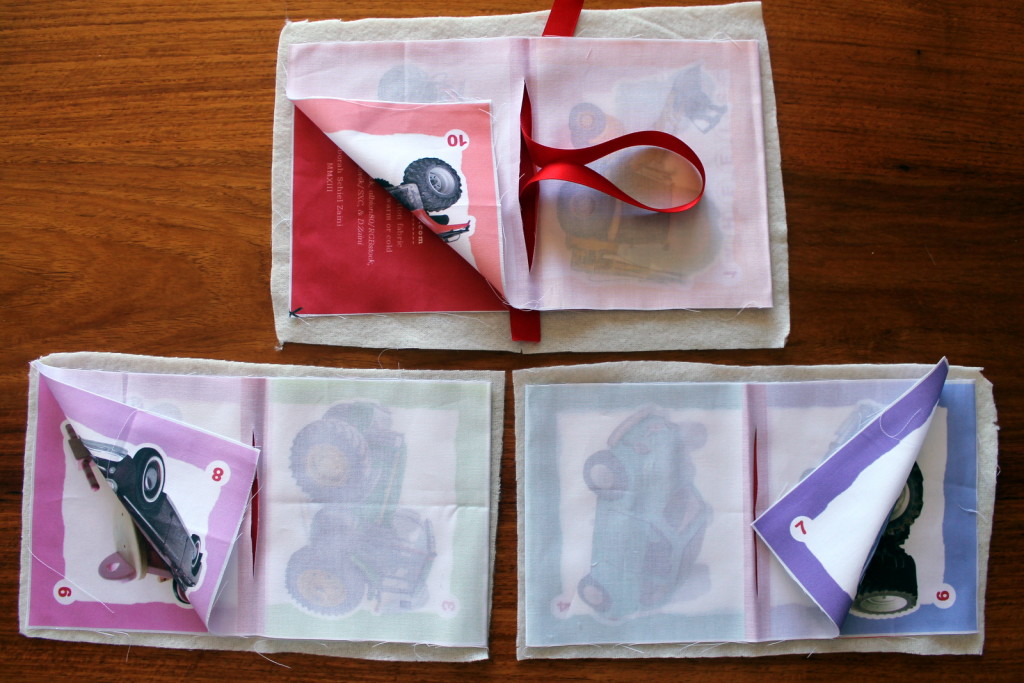
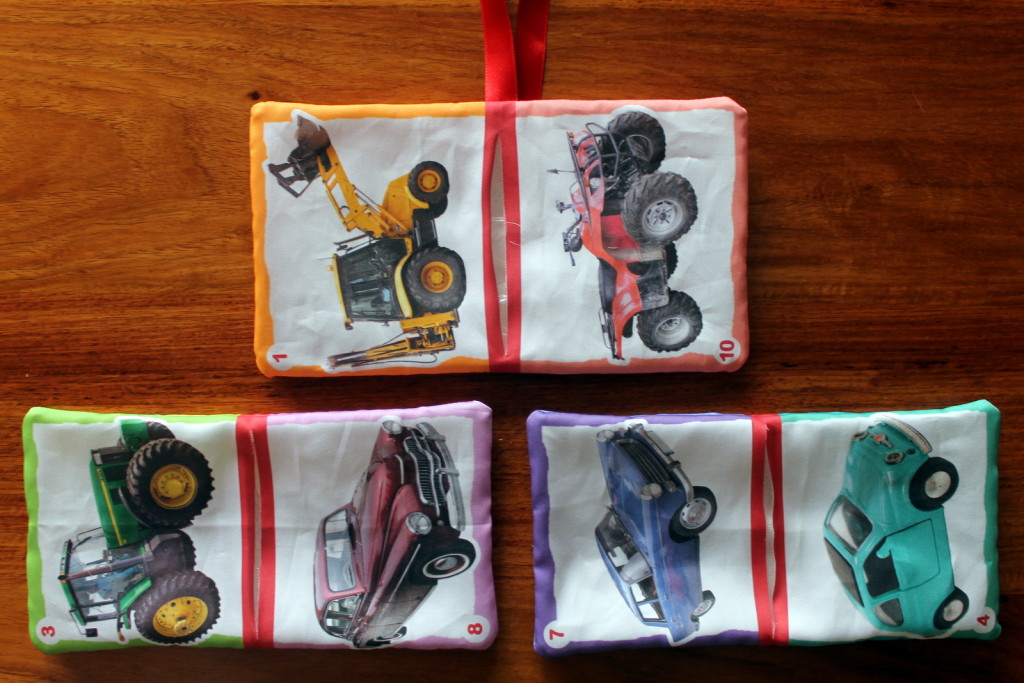
Carefully cut slits along the centre of the red spines between pages 1+10, 3+8, 7+4 as indicated below. This is the gap that you’ll be turning through. Make sure the slit doesn’t go past the white and into the colour.
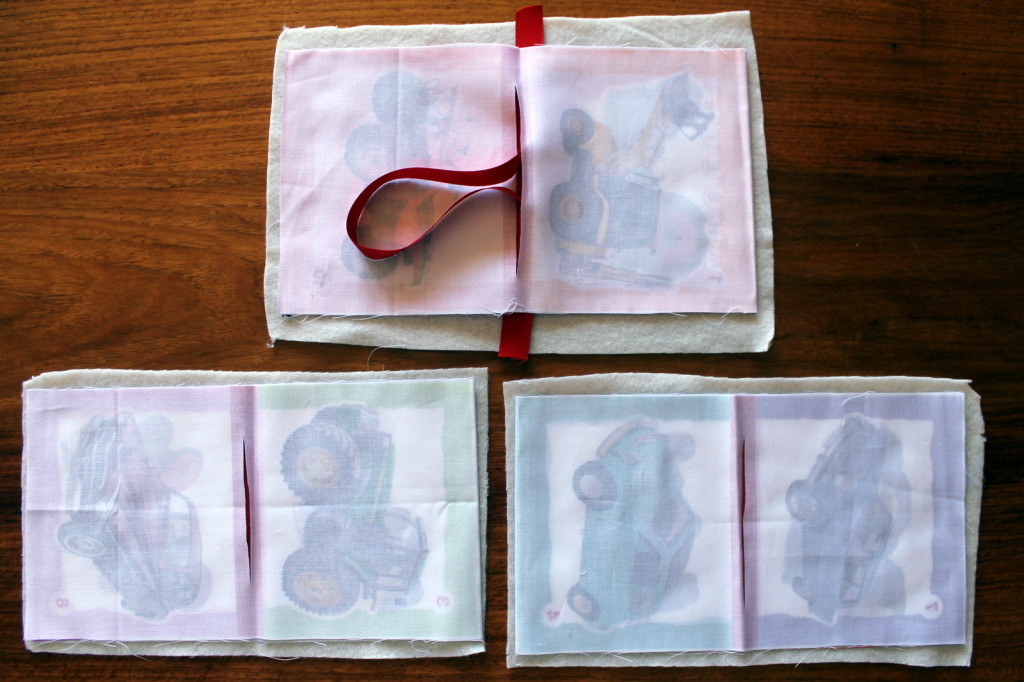
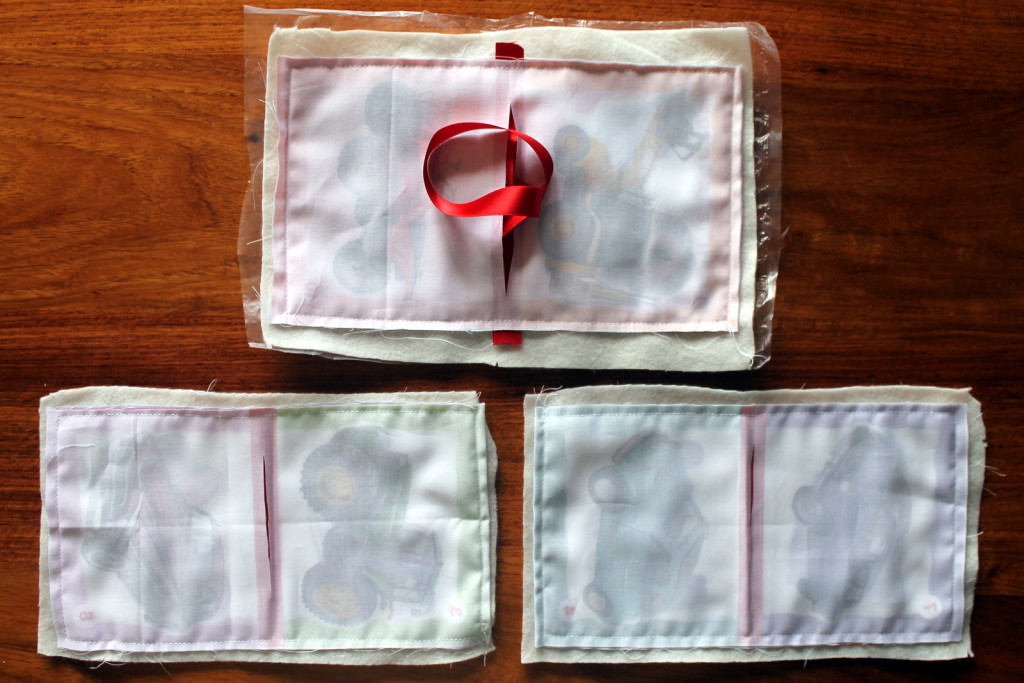
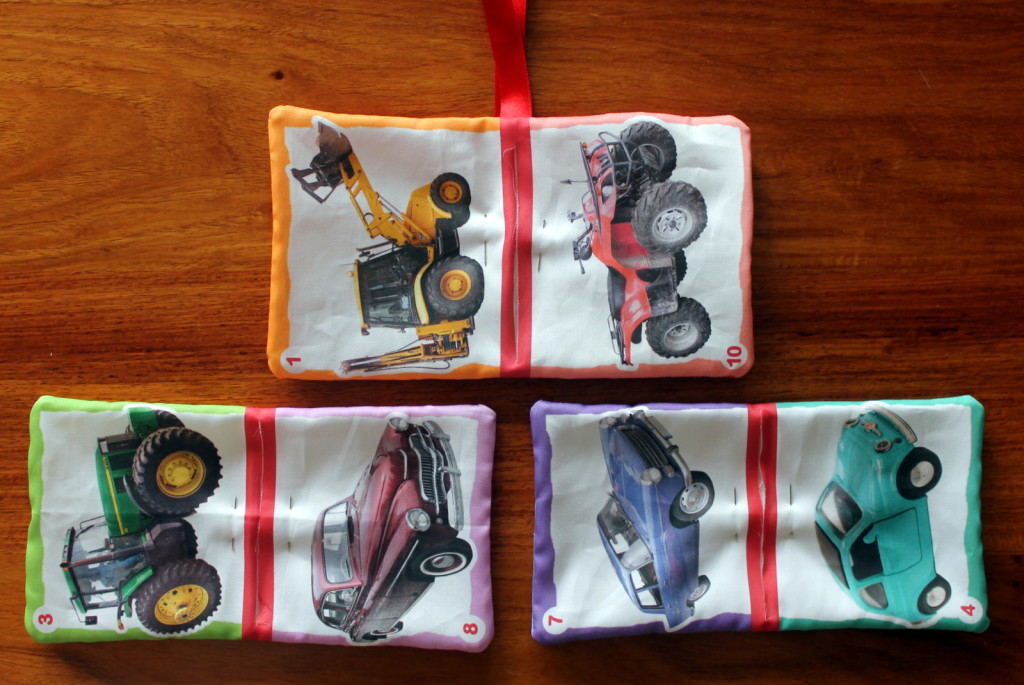
Now fold the printed sides together, folding along the dashed grey line in the centre of each strip. Place a piece of polyester fleece padding under each folded strip. I recycle fleece baby blankets bought from a charity shop but you can also buy them from superstores or buy poly fleece from a fabric shop. And a ribbon if you want one on the spine. NOTE! Seal both ends of your ribbon. This will stop it from fraying; if your ribbon frays inside your book it might pull away from the book in the wash or in the hands of an enthusiastic toddler.
This photo is just to double check that you have the correct sides together. I pull the ribbon out through the slit so that the excess doesn’t get caught in the seam.
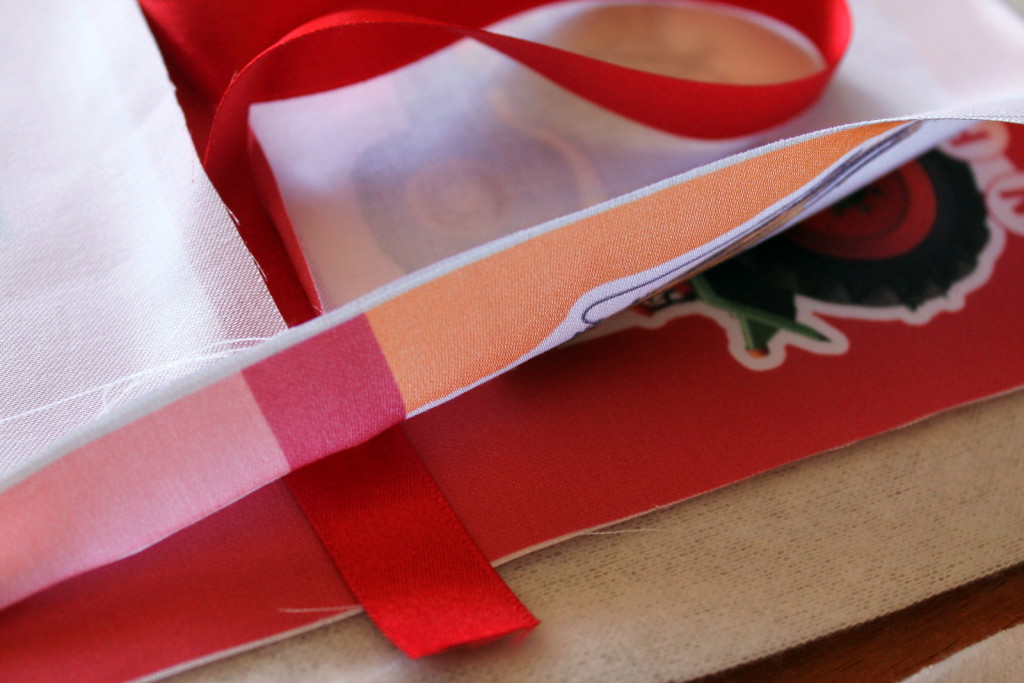
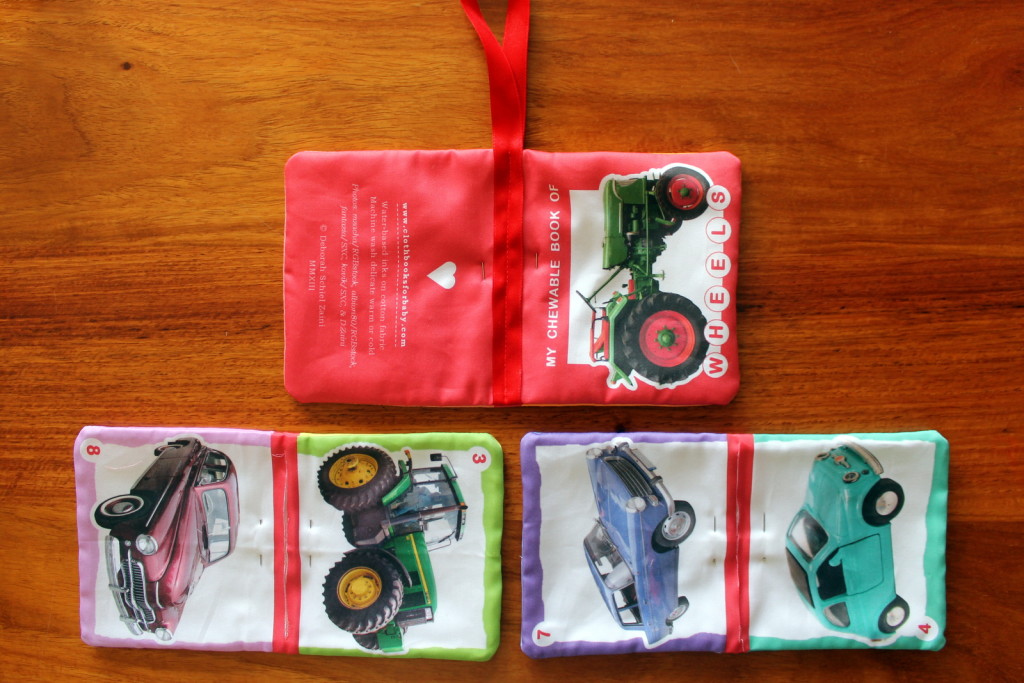
If you are using ribbon, make sure it lines up with the red spine printed on the fabric. I put a single twist in the ribbon so that later it will fit neatly on a wooden teething ring.
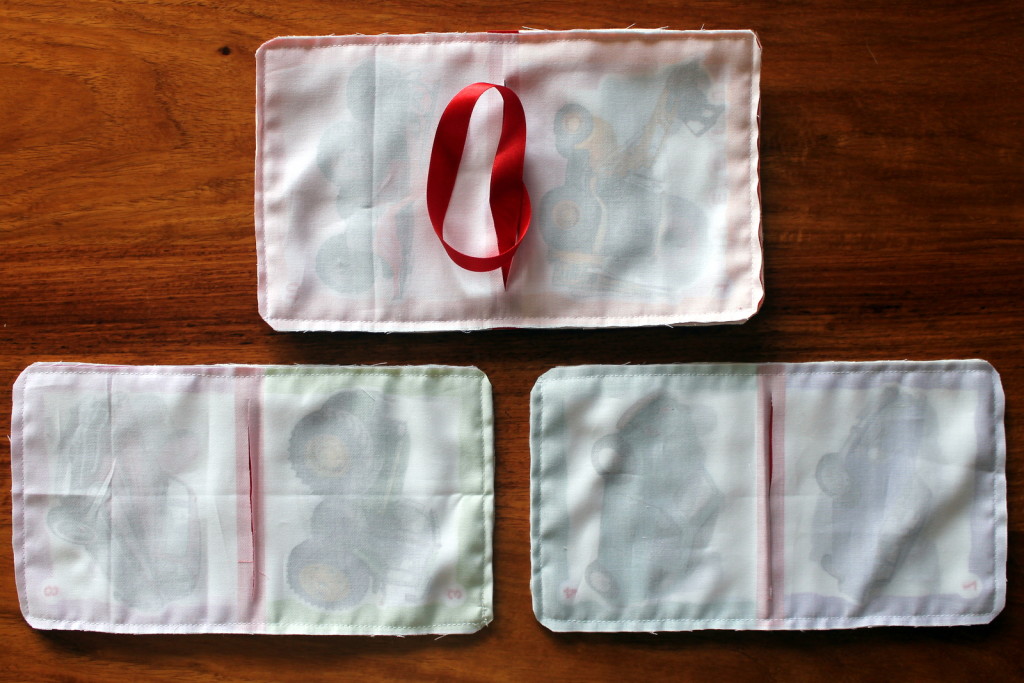
Now sew each page up. Sew along all four sides all the way around. (Technically you don’t have to sew the folded side but it won’t look the same as the other sides if you don’t.) You don’t need to leave any gaps because you can turn through the slits you cut in the spines earlier. I also add a clear cereal packet to the cover for a crinkly sound.
Trim the excess fabric and round the corners.
Very carefully, turn each page spread the right way around through the openings. Make the slits a little longer if you have to rather than stressing or ripping the fabric.
This is when I get the pins out and pin the fabric to help the slits stay closed.
Now for the tricky bit.
The ribbon.
Change the thread to red.
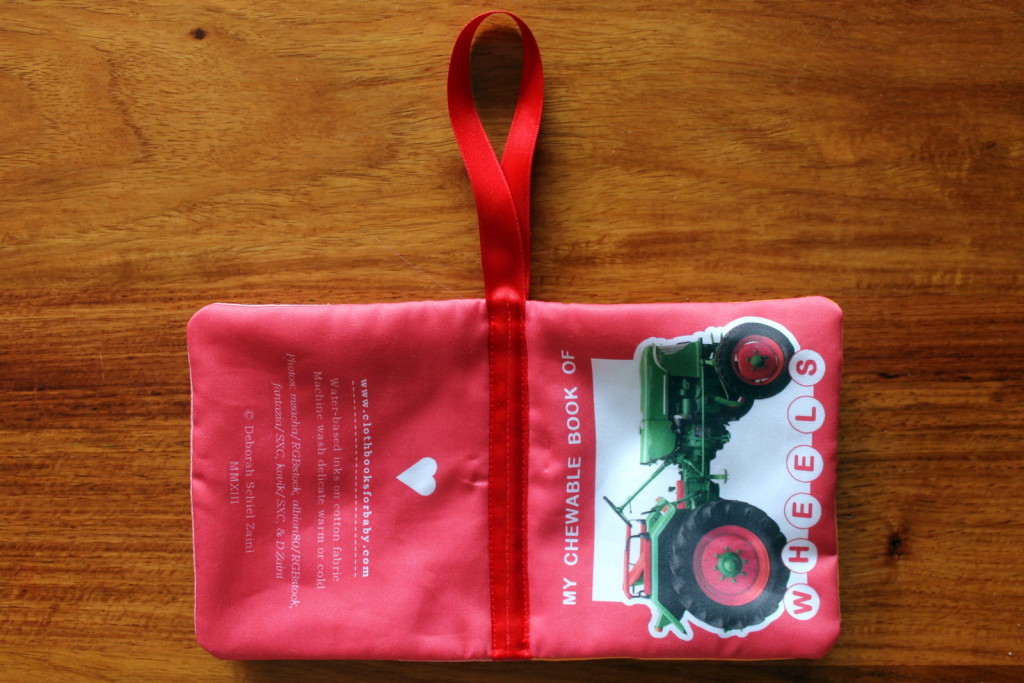
Turn the cover page over and sew a single line along the centre of the ribbon to hold it in place. I do this with the cover only. Putting the book together at this stage and running that single line down through all three spreads never worked for me and my machine.
Once the ribbon is secured, position the other two page spreads underneath the cover, with the red spines lined up as precisely as possible. Hold it all together with your hands or pins or clips, and sew two red lines down both sides of the centre line, as close as possible to the edge of the ribbon.
Sewing a fat spine this way hides those slits from view and seals up your cloth book.
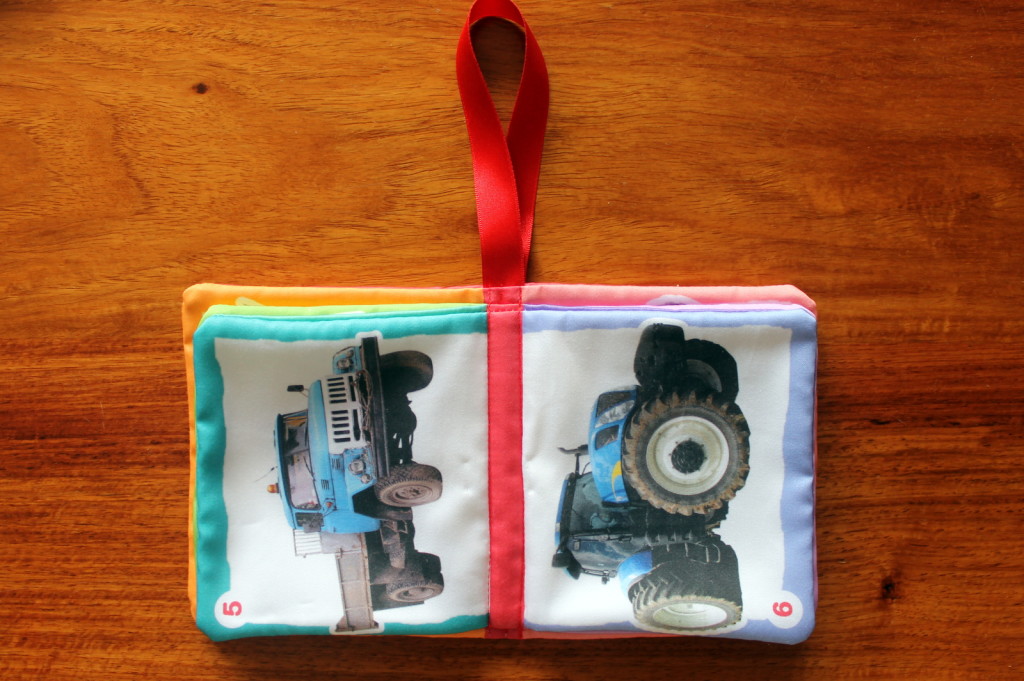
And there you have one FAT chubby cloth book for baby!
But if that looks like too much work for you, don’t fret…
You can buy a ready-made FAT cloth books here.




Hi there nice tutorial
I dont understand how you hid the split in each page, I get the cover but not the centre page, do you put ribbon over the centre page too?
Hi Cheryl, page 5&6 is the centre spread and you cut a split in the reverse of that spread, so not between page 5&6 but between page 7&4. Hope that helps!
hi Deborah
I will till I recieve the books it will probably become obvious once I start sewing if not I can always ask you thks very much
Can this go through the dryer with the cereal packet in the cover?
Hi Elizabeth, I wouldn’t put the cloth book in the dryer. I don’t have a dryer myself so can’t test to see what it does to the plastic, but I imagine that it would melt. This is how I wash and dry my books:
http://www.clothbooksforbaby.com/caring-for-your-cloth-books/
Thank you Deborah!
The voice of experience over her … do NOT put the book in the dryer!! You will rue the day!!! 🥴🥴
where you have the cloth?
Hi Judy, you can buy the fabric from Spoonflower.com : http://www.spoonflower.com/fabric/2163354
Can you use interfacing to give the book some stiffness and shape? Fleece will be too thick to sew it together with my machine. Can a baby chew on the book lined with interfacing? Maybe I’ll try using flannel.
This is so cute! Great tutorial. Another option would be to use printable iron-on transfer paper, and print images from your computer. I have a much different soft book tutorial on my blog. http://bohemianmermaid.blogspot.com/2011/02/making-daphne-book-part-1.html
http://bohemianmermaid.blogspot.com
I’m making a sensory book for my baby. I cut squares of felt and stuck different things on them. I then put a piece of cardboard inside and glued together 2 squares to make a page. Now I don’t know how to bind the 4 pages. Any ideas?
Hello
I followed your steps one by one
But the internal pages look smaller .is that correct? Or what am I doing wrong?
Please please reply
Hi Aisha, yes, correct, the internal pages are meant to be smaller so the outer page forms the cover like a “proper” book.
The fabric design of your cloth book for baby is good. Click this link to get more designs in weaver textile ….: https://www.weaveron.com
http://www.weaveron.com/
Hi! Just wondering about the material to fill a fat cloth book? Any safe suggestions?
Hi Beth, I used to use polyester padding, but then switched to all natural fibres and use 100% wool padding. Hope that helps.
Hello
Good morning
I am talking to you from Iran, I want to produce a small cloth book in a village, can you help me? I need a plan.
Please give me the answer.
niktalab.jafar@gmail.com
Thanks